The other day I came across the term Entremet for the first time. Ever heard of it? Me neither. Because it was accompanied with a photo that makes your mouth water, I felt it was necessary to investigate this thing further. You will too if you read further. Come on, I dare you :)
Wikipedia helped me shed some light on this mystery: "For modern pastry chefs, an entremet is a multi-layered mousse-based cake with various complementary flavors and varying textural contrasts." Complicated? Sounds like it. A challenge? Definitively :)
There is no lack of recipes out there, so I decided to play the puzzle game and I mixed and I matched, taking a layer from one and then a layer from another, until this beauty was created in my head. But now for the execution. With so many layers it is all in the organisation, preparation of all the ingredients and planning all the steps. If you are a more visual person, you can also create a sketch.
Some parts can be made in advance and some even have to be made before and and allowed to settle. Time-wise this will take a couple of hours, but the easiest is to start in the evening and continue the next morning.
This will make a desert a size of a 20 x 20 cm square.
Raspberry jelly
125 g raspberries
20 g sugar
15 ml water
5 g gelatin (1.5 tsp)
Mix the water and the gelatin and let it bloom. Puree the raspberries, add sugar and heat on medium so that the sugar dissolves.
If you want a clear jelly, then pour the berries through a fine mesh sieve, but I don't mind the seeds, so I didn't bother with the sifting. Melt the gelatin in the microwave and add it to the raspberries. Mix thoroughly and pour into the same size mould as the finished cake will be.
Brownie base
50 g flour
40 g bitter cocoa
big pinch of salt
2 g baking powder
60 g butter
100 g brown sugar
1 egg
1 vanilla bean
I wanted a firm base so I used the same as with the triple mousse cake, which uses a dark chocolate cake base, which is like a combination between fudge and a cookie.
Mix flour, cocoa, salt and baking powder together in a bowl and set aside. Cut the butter into smaller pieces, melt them on low heat and add sugar. Let the sugar dissolve, but don't let it boil. The sugar might not entirely dissolve, but that is ok, as long as at least most of it dissolves. Remove from heat and wait until it cools to room temperature, then add eggs and vanilla. Lastly add the dry ingredients. The batter will be very thick.
Pour it in a greased and floured cake pan and bake at 180° C for approx. 25 minut or until the toothpick comes out dry or with only a few crumbs attached.
This as well can be made in advance, so I baked it in the evening, let it cool, wrapped it in cling film and just let it sit on the kitchen counter until the next morning.
Chocolate panna cota
270 g cream
90 g dark chocolate
pinch of salt
5 g granulated sugar (1 tsp)
5 g gelatin (1.5 tsp)
15 ml water (1 tbsp)
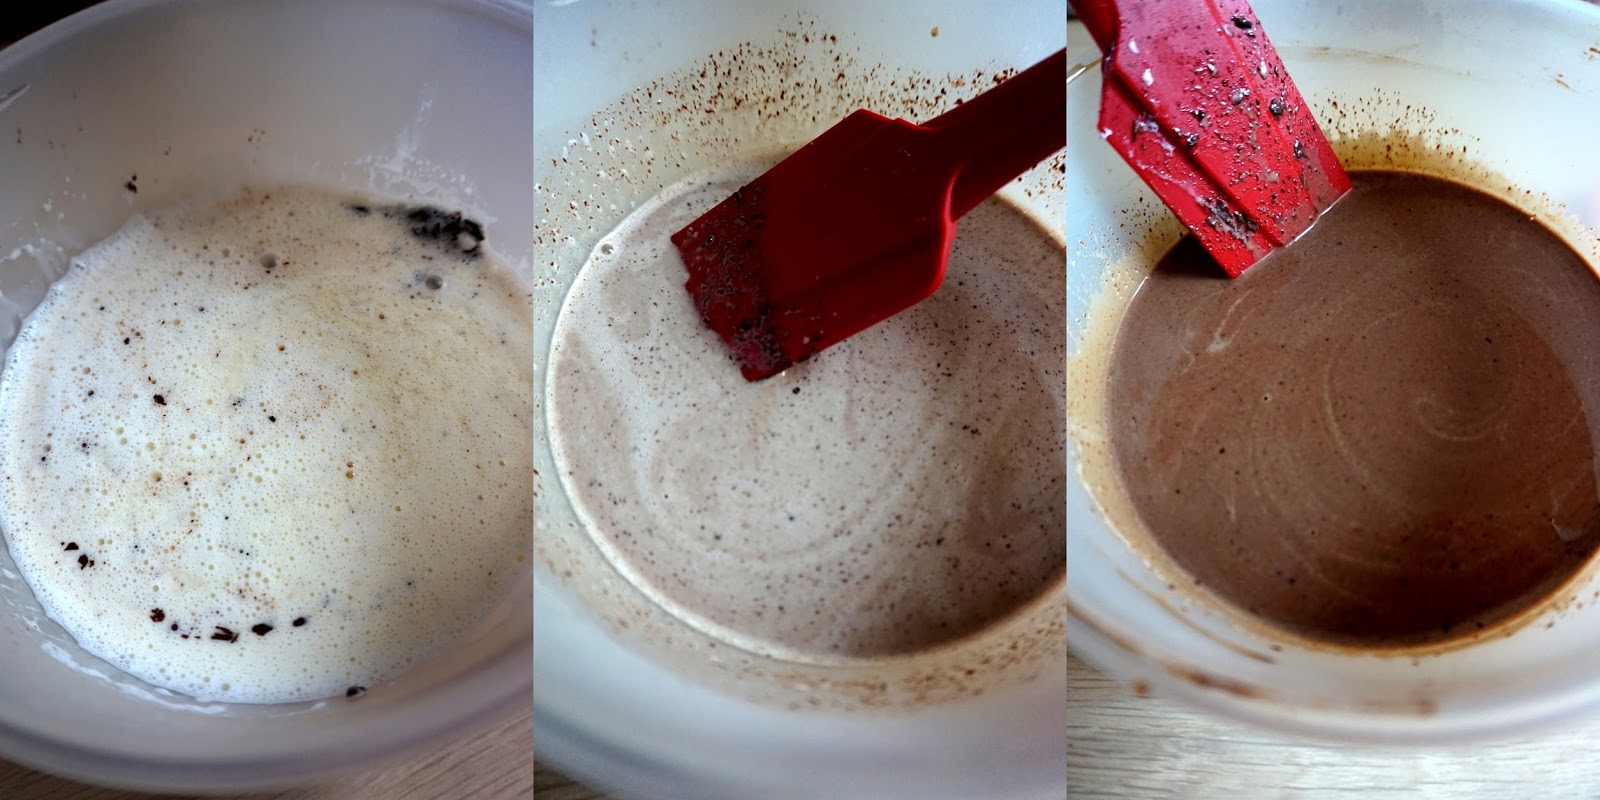
Add water to gelatin and let it bloom. Chop the chocolate into small pieces and try to make them even, so that they will melt at the same rate. Add salt and sugar; those who need to sweeten their lives just a bit more can add up to 10 - 15 g, but my life is sweet enough, so 5 g works just fine for me. Heat the cream up to boiling point and pour over the chocolate. Let it sit for a couple of minutes, then stir to melt all the pieces. If you're not successful and you have some chocolate pieces left, zap the mixture in a microwave, but only in small increments and stir after each time, until all the chocolate has melted. If you want to save yourself the trouble of cleaning more bowls than you want, which I am sure is welcome with this dessert, given the number of layers you'll be making anyway, you can mix the cream with the chocolate from the get go and just heat everything in the microwave until hot.
Melt the gelatin and stir it in with the melted chocolate and cream.
Leave the mixture in the fridge, not to set, but just to thicken a bit. This should take approximately 20 - 30 minut, but check it from time to time, because your fridge may be set differently than mine. If you just pour the mixture on the cake base, it might soak up too much of it and you would end up with a really soggy base. While this is setting, you can prepare the chocolate Genoise.
Chocolate Genoise
You won't need any leavening agents for this cake to rise. The eggs and the method of preparation are the key to this delicate sponge.
1 egg
1 egg yolk (save the egg white for later)
pinch of salt
50 g sugar
20 g flour
10 g cocoa
Put the whole egg and the egg yolk together with salt and sugar into a heat proof bowl and place the bowl over a pot of boiling water. Continuously stir until the mixture heats up to 38° C. If you do not have a kitchen termometer on hand, you can kind of guesstimate with touch; the mixture will be between luke warm and warm.
Remove from heat and whisk until it has tripled in size and has become really pale.

Mix cocoa and flour in a separate bowl, sift it if necessary and add it to the whisked eggs one third at a time, gently (!) folding it in.
Cover the oven tray with baking paper and spread out the batter evenly on the tray. The batter should be the size of te finished cake or even better a bit bigger, since the edges usually become a bit hard.
Heat the oven to 200° C and bake for 10 - 12 minutes. Let it cool, remove from paper and trim the edges so that the sponge fits into the cake mould.
Start assembly
1 tbsp milk
1 tsp rum
While the Genoise is cooling, put the brownie base on the bottom of the cake pan, ring or mould, whichever you are using and line the sides with acetate. Mix milk and rum together and lightly brush the base with this mixture. The Panna cota must have cooled and thickened by now, so pour it over the brownie base and put everything in the fridge to set a bit more. Then put the cooled Genoise sponge over the panna cata and again return to the fridge.
100 ml cream
100 g dark chocolate
50 g hazelnut croquant (crushed caramelised hazelnuts)
Shop the chocolate into even pieces and pour over boiling hot cream. Let it sit for a bit, then stir until the chocolate has melted (or just heat both together in a microwave). Add the croquant, stir and spread over the Genoise sponge.
250 g raspberries
100 g sugar
6 g gelatin (2 tsp)
60 ml water (4 tbsp)
30 ml lemon juice (2 tbsp)
1 egg white (saved from the Genoise)
270 g cream
Mix the egg whites with 30 g sugar, heat over steam until the mixture is warm to touch, stirring constantly. Remove from heat and whisk for 5 minutes or until the mix has cooled down to room temperature to get a firm Swiss Meringue.
Blend the gelatin with 1 tbsp water and 1 tbsp lemon juice and let it bloom.
Mix the raspberries with 3 tbsp of water and 1 tbsp of lemon juice and puree with a hand blender. Heat the puree just a bit, since this will make it a bit less thick and strain everything through a fine mesh strainer to remove the seeds.
Add the remaining sugar and cook on medium heat for 5 minutes. The sugar will make it somewhat thicker, then add gelatin and stir until it has dissolved.
Cool the puree to room temperature and in the meantime whisk the cream to just a bit more than soft peaks. Add the raspberries to the Swiss meringue and fold it in until well mixed.
Add the whipped cream and again fold it in.
Continue assembly
Pour half of the raspberry mousse over the hazelnut ganache and let it set in the fridge. Keep the other half of the mousse at room temperature in the meantime. Once the mousse has set enough that you can touch it and not dip your finger, place the raspberry jelly on the mousse. Pour the remaining mousse over the jelly and let completely set in the fridge.
White chocolate mirror glaze
40 ml cream
18 ml water
7 g corn syrup
60 g white chocolate
2 g gelatin (1/2 tsp)
6 g oil
Mix gelatin with water and let it bloom. Mix cream, water and corn syrup in a pan and heat it until boiling. Chop up the chocolate, melt it in the microwave and mix with the cream. Melt the gelatin as well and blend in with the rest. Lastly add the oil. Pour over the dessert and let it set in the fridge.
The End. Whoaaaaa that took a while :) But believe me, it will be worth it.
Remove the mould/ring and acetate and cut into pieces. I did 8 pieces,but frankly they were a bit big now that I think about it and aesthetically I think 10 long pieces would have worked better or you could do 16 smaller squares (each about 5 x 5 cm)
Decorate according to your current inspiration and enjoy because this is what heaven must taste like !